Exchange Server 2016 Installation
10 November 2019Thank you for reading this post, don't forget to subscribe!
Prerequisites for Windows Server 2016
- A domain controller running Windows Server 2008 at a minimum
The Active Directory forest level must be at least on Windows Server 2008 - Have integrated the server in the domain.
- Update the server
- At least 8 GB of RAM is 2 CPUs (you can calculate your resource requirements via Excel file made by Microsoft:
- Download and install the following applications:
Open a PowerShell command prompt as an administrator and type the following command:
[cc lang=”php” tab_size=”2″ lines=”40″]
Install-WindowsFeature RSAT-ADDS
Install-WindowsFeature NET-Framework-45-Features, Server-Media-Foundation, RPC-over-HTTP-proxy, RSAT-Clustering, RSAT-Clustering-CmdInterface, RSAT-Clustering-Mgmt, RSAT-Clustering-PowerShell, WAS-Process-Model, Web-Asp-Net45, Web-Basic-Auth, Web-Client-Auth, Web-Digest-Auth, Web-Dir-Browsing, Web-Dyn-Compression, Web-Http-Errors, Web-Http-Logging, Web-Http-Redirect, Web-Http-Tracing, Web-ISAPI-Ext, Web-ISAPI-Filter, Web-Lgcy-Mgmt-Console, Web-Metabase, Web-Mgmt-Console, Web-Mgmt-Service, Web-Net-Ext45, Web-Request-Monitor, Web-Server, Web-Stat-Compression, Web-Static-Content, Web-Windows-Auth, Web-WMI, Windows-Identity-Foundation, RSAT-ADDS
[/cc]
- Download the latest version of the Exchange 2016 Setup executable.
At the time of writing the article the cumulative update 14 which can be found on the following link:
https://www.microsoft.com/en-us/download/details.aspx?id=100302
Once all the prerequisites have been installed we can proceed to the preparation AD
Preparing the Active Directory
Preparation of the scheme
Open the command prompt as Administrator and go to the folder where you unpacked the Exchange Server 2016 ISO.
Enter the following command.
[cc lang=”php” tab_size=”2″ lines=”40″]
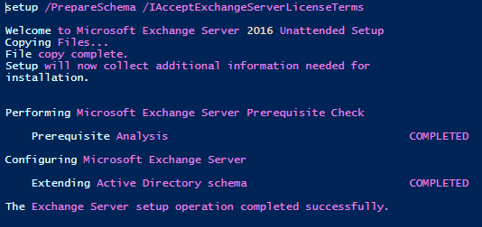
Setup.exe /PrepareSchema /IAcceptExchangeServerLicenseTerms
[/cc]
Domain preparation
Enter the following command.
[cc lang=”php” tab_size=”2″ lines=”40″]
Setup.exe /PrepareAD /OrganizationName:”<organization name>” /IAcceptExchangeServerLicenseTerms
[/cc]
Our Active Directory is now prepared to receive our Exchange server, we can proceed to the installation.
Install Exchange 2016 Via Graphical Interface
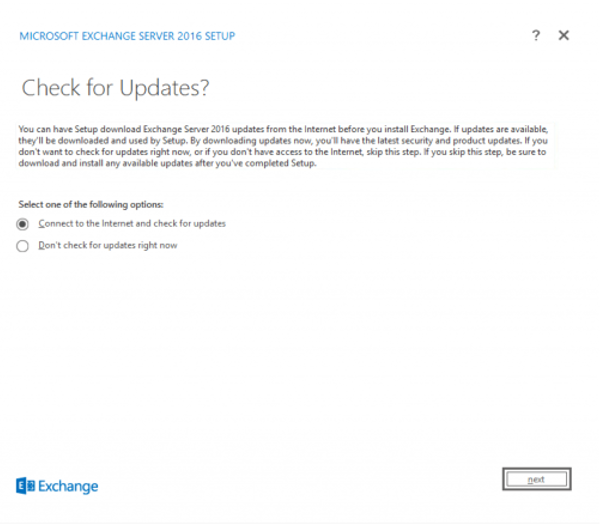
Mount the Exchange ISO and run the “Setup.exe”. The installer then asks us if we want to download and install the updates directly. We will select the update search option.
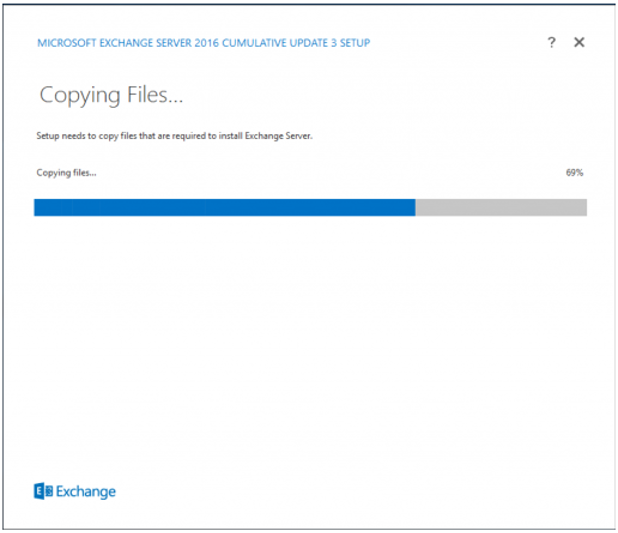
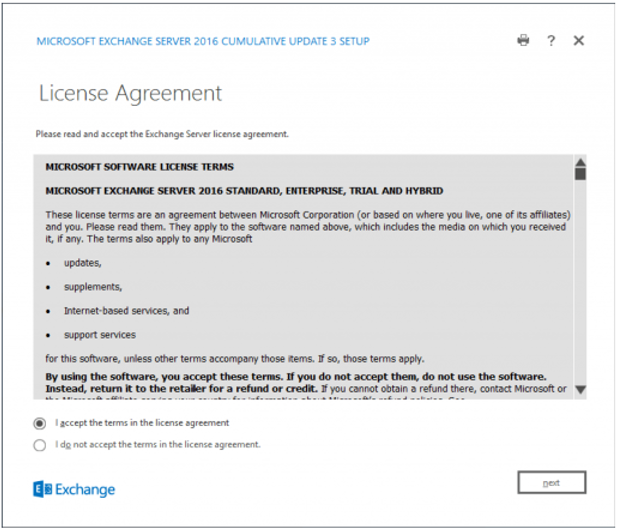
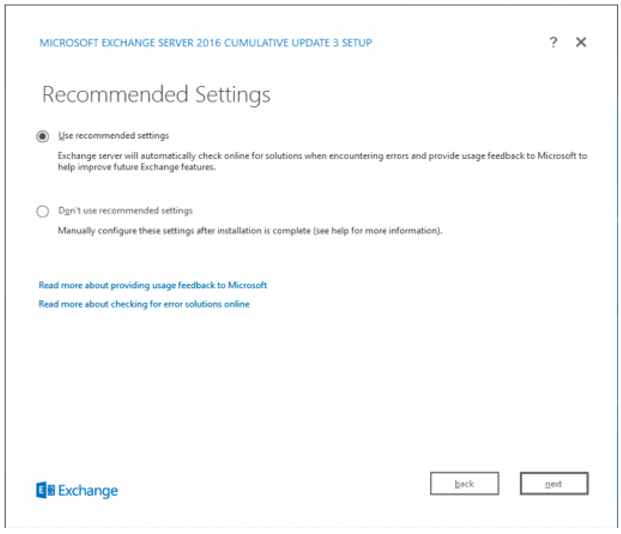
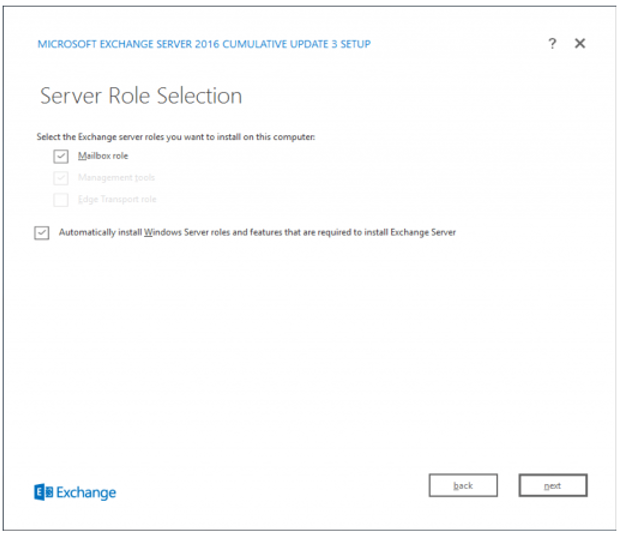
We will choose the roles to install on our server.
Select “Mailbox role” and “Automatically install Windows Server roles and features that are required to install Exchange Server.”
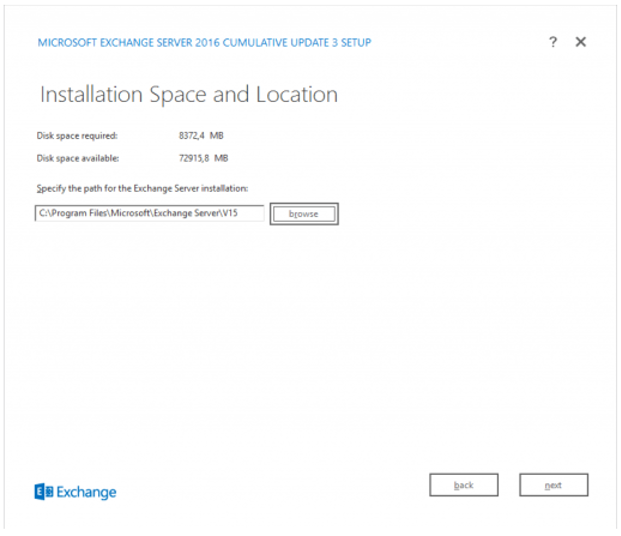
Choose or install our Exchange server, in my case I leave it by default.
The databases will be located here. I’ll explain how to move the databases to another disk in another tutorial.
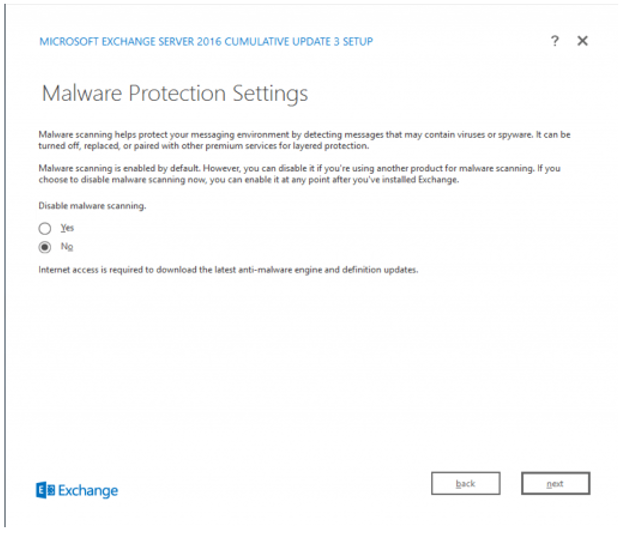
Do not disable Malware Scan
The installer will scan the server to verify that all prerequisites are installed.
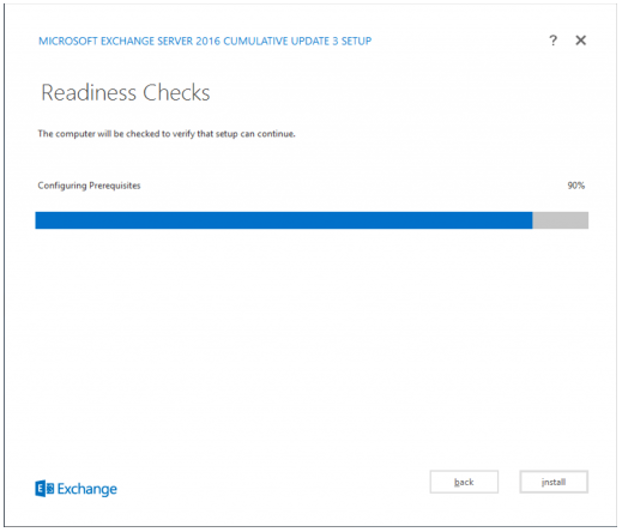
We can launch the installation which will last a good time.
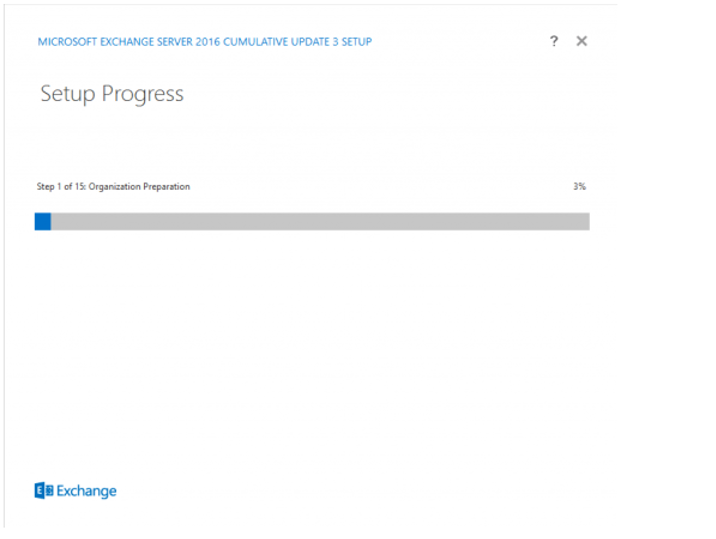
The installation is now complete.
Views: 415


